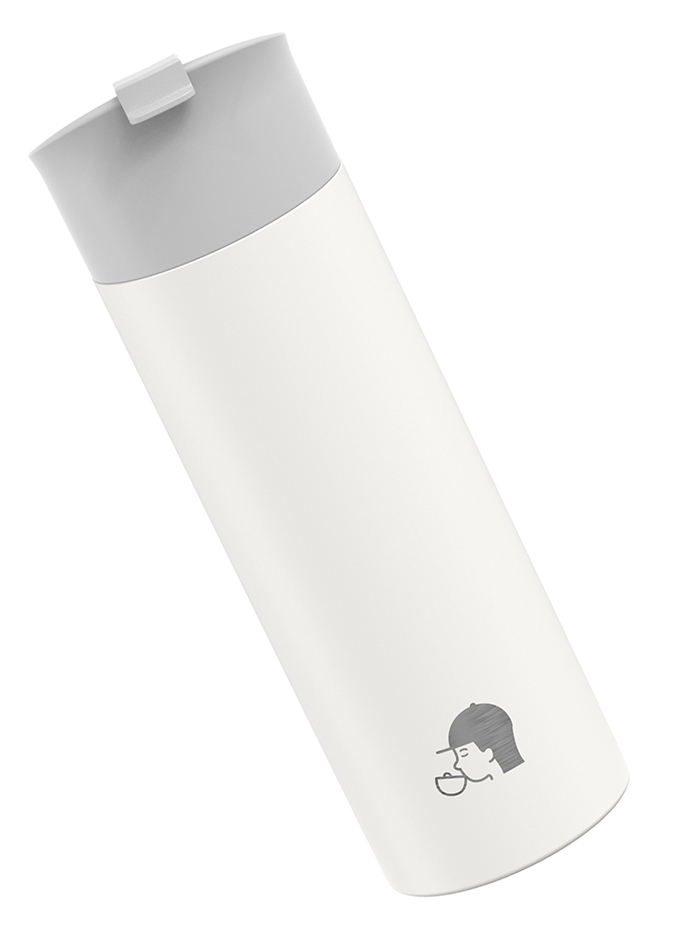
The Yasumi French Press is an amazing coffee brewing equipment.
It allows anyone to create coffee at the level that specialty coffee roasters have intended for.
And it is also simple enough to achieve great results without precise measurements or techniques as compared to brewing with espresso machines and filter coffee!
There are many different ways to use the Yasumi Press. Here are the recipes for brewing a cup of delicious hot coffee and making your own specialty cold brew concentrate.
You will also learn how to make a latte-like foam with the Yasumi Press. ☺️
Here are the benefits of both options
As the Yasumi Press is delivered brand-new and straight from the factory, please wash all components of the Yasumi Press with soapy water so that any lingering smells do not appear in your coffee.
This includes unscrewing the filters and washing each part individually as well.
We inspect every unit and try our best to gently wipe the units so you may find some watermarks in the interior.
The mesh filter may be a little stiff at first because it is brand new and will soften over time over multiple uses.
Always make sure the rubber gasket inside the lid is well-fitted to the grooves to prevent unwanted leaks.
The french press should not leak unless it is held at an angle where the liquid is touching the plunger opening.
Care Instructions:
Wash the Yasumi Press with soapy water thoroughly after every use as coffee smells can linger and affect the aromas of your next brew!
Unscrew the filters and give each individual component a scrub with soapy water to remove any residual oil buildup.
The paint coating on the Yasumi Press is vulnerable to scratches just like any other coated tumbler, please store it separately from pointed objects.
Please do not hesitate to let us know if there are any defects with your unit.
The Yasumi Press has a total volume of ~470ml, which means that you can brew two good-sized cups of coffee in one session.
All ratios below are up to your preference!
The coffee's unique flavors are well extracted at temperatures between 88-96 degrees celsius.
If you use a temperature that is too high, you are more likely to extract intensely bitter flavors.
Boil some water and allow it to rest for at least 2 minutes in a kettle with the lid open after boiling to drop to the optimal temperature before pouring it into the french press.
You may also use hot water from an instant heater but do add 20-30ml of room temperature water to your coffee first so you do not scald the coffee grounds.
Using a temperature that is too high can cause over-extraction which results in sour, astringent, and bitter flavors. This will be even more prominent when you are using dark roasts as the bitterness will not be pleasant.
Using a temperature that is too low will result in under-extraction which results in lower body and sweetness.
As every kettle/hot water dispenser is unique, please experiment and adjust the water temperature according to your heating device!
If it's too thin, use a higher temperature, if it's too bitter, use a lower temperature.
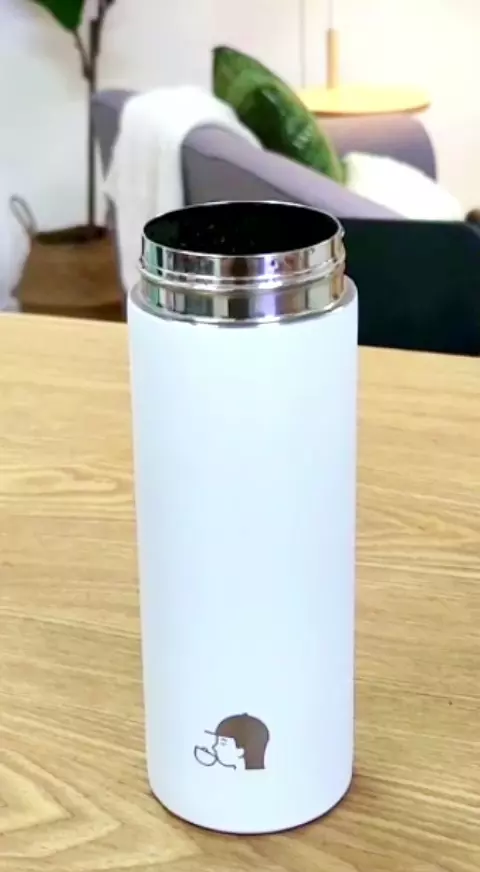
If you are grinding your own coffee, make sure you are using a very coarse grind that is almost like sea salt in terms of ground size.
Remove the lid of the Yasumi French Press, which is connected to the filter system, and turn the metal filter to ensure it is tightly secured.
We like a ratio of 1:8 for our coffee, which results in a rich body and intense flavor comparable to Americanos and Long Blacks that you can find in cafes. ( You can use less coffee of course! )
If you are brewing one cup of coffee (~230 mL), you can use approximately 3 heaping tablespoons (20-25 grams) of coffee powder for light roasts or 2 heaping tablespoons (15-20 grams) for dark roasts.
For two cups, double the number of tablespoons respectively.
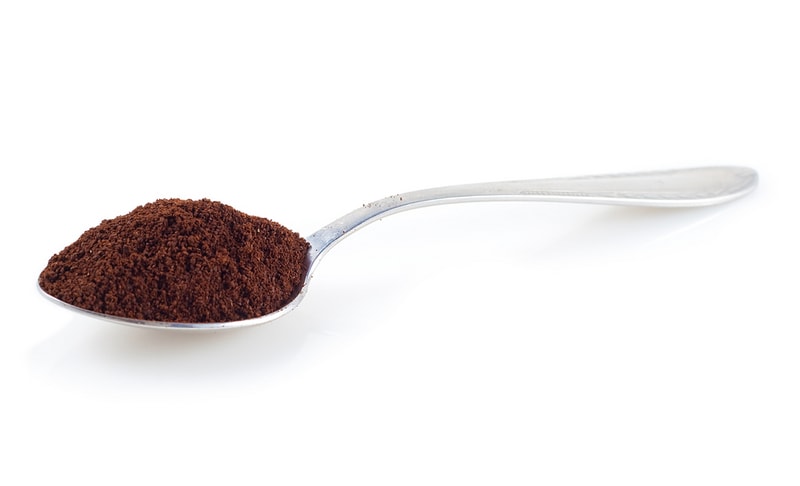
If you only have teaspoons on hand, you can use a conversion of 3 teaspoons to 1 tablespoon.
How much your tablespoon can hold may differ from us so please always use more than needed and then reduce the amount in your next brew to see how much coffee you can save without affecting the coffee's body!
If you intend to drink it immediately, you may prefer to brew with less liquid at the start and then add room-temperature water after it is brewed to bring the coffee to drinking temperature.
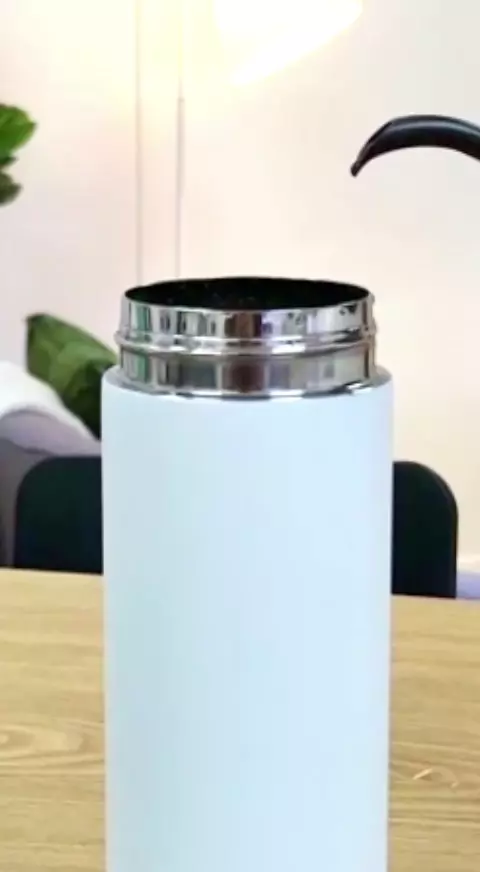
Pour boiling water into the French press until slightly below the halfway point if you are brewing one cup of coffee!
Pour the water until 1 cm below the opening if you are brewing two cups!
Swirl/Stir the coffee grounds gently to make sure they are fully submerged in the hot water for better extraction and screw the lid on to prevent any drop in temperature.
Allow the coffee to bubble for 10-20 seconds in a blooming process to release any excess carbon dioxide before closing the lid. Dark-roasted coffee will bloom much faster than light-roasted coffee.
The length of time you let the coffee steep will impact its flavors and body.
A longer steeping time (4-5 minutes) will result in more intense flavors, bitterness, and a thicker body, while a shorter steeping time (3.5 -4 minutes) will yield more aromatic and less bitterness, as well as a thinner body.
If you are drinking coffee without sugar for the first time, we recommend a steeping time of 3 minutes so that you do not need sugar to balance out the bitterness.
During our cupping sessions, we found that everyone has a different preference and even sensitivity to flavors when it comes to steeping duration.
We recommend trying different brewing durations and water temperatures for each single-origin coffee and noting down what works best for your palette!
Fun fact: It's harder to "over-extract" coffee when the temperature is lower, most bitter agents are extracted at higher temperatures. This is why cold brews can generally be steeped for 24 hours or more!
Example recipes to try:
1 minute of water-resting time with 5 minutes of brewing time - Thick coffee, can be slightly bittersweet
2 minutes of water-resting time with 4 minutes of brewing time - Medium-bodied and well-balanced coffee
3 minutes of water-resting time with 3.5 minutes of brewing time - Aromatic and tea-like coffee
Your coffee, your way!
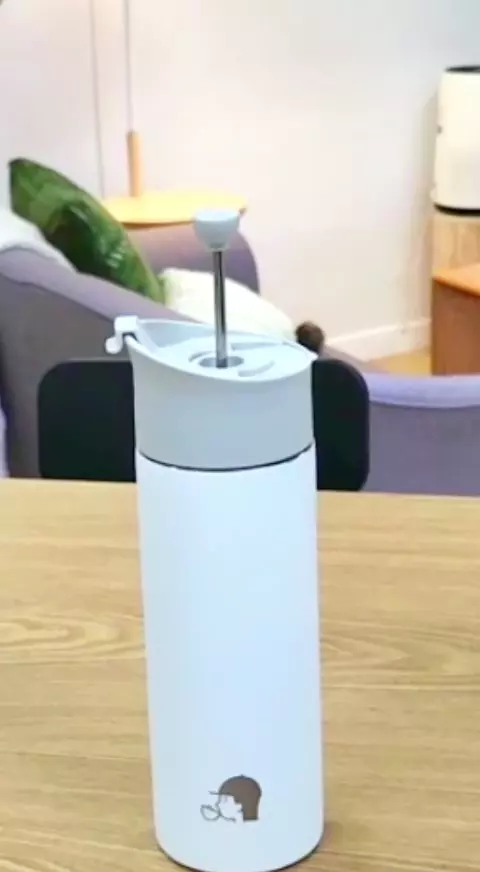
After steeping for the required duration, gently press down on the plunger slowly to avoid disturbing any coffee sediments at the base.
Stop pressing once you feel the plunger has reached the coffee grounds at the base.
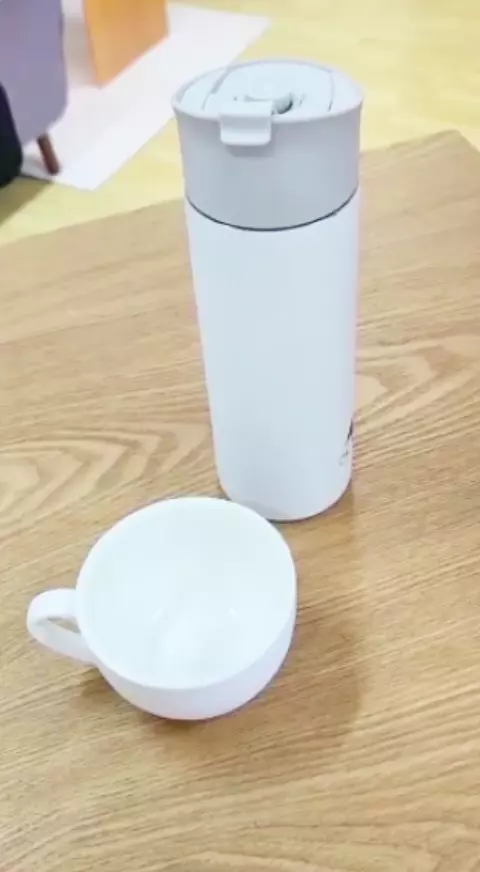
The coffee's body/viscosity should be similarly thick as compared to long blacks/americanos ( Espressos diluted with water ) that you can get in cafes.
The color of the coffee will depend greatly on the roasting level of the coffee beans. If you are using medium roast coffee beans from us, it should be medium brown.
Generally, you should see a color slightly lighter than the color of the ground coffee or whole beans you have received.
In the above example, we are pouring into a white cup so the coffee may look darker than usual. The most important thing is that the mouthfeel of the body is right for you!
If you do not get coffee thick enough for your preference you can do the following:
To stop the brewing process, you can either pour the coffee into a cup or simply open the lid of the French press, which will cause the water temperature to slowly drop and slow down the brewing process.
Be careful not to let the plunger handle come into contact with or move with the lid while unscrewing, as this may cause the metal filter below to become unscrewed.
When pouring, there is a thoughtfully designed locking mechanism to prevent the closing flip from falling forward, press the flip backward until you hear a click sound.
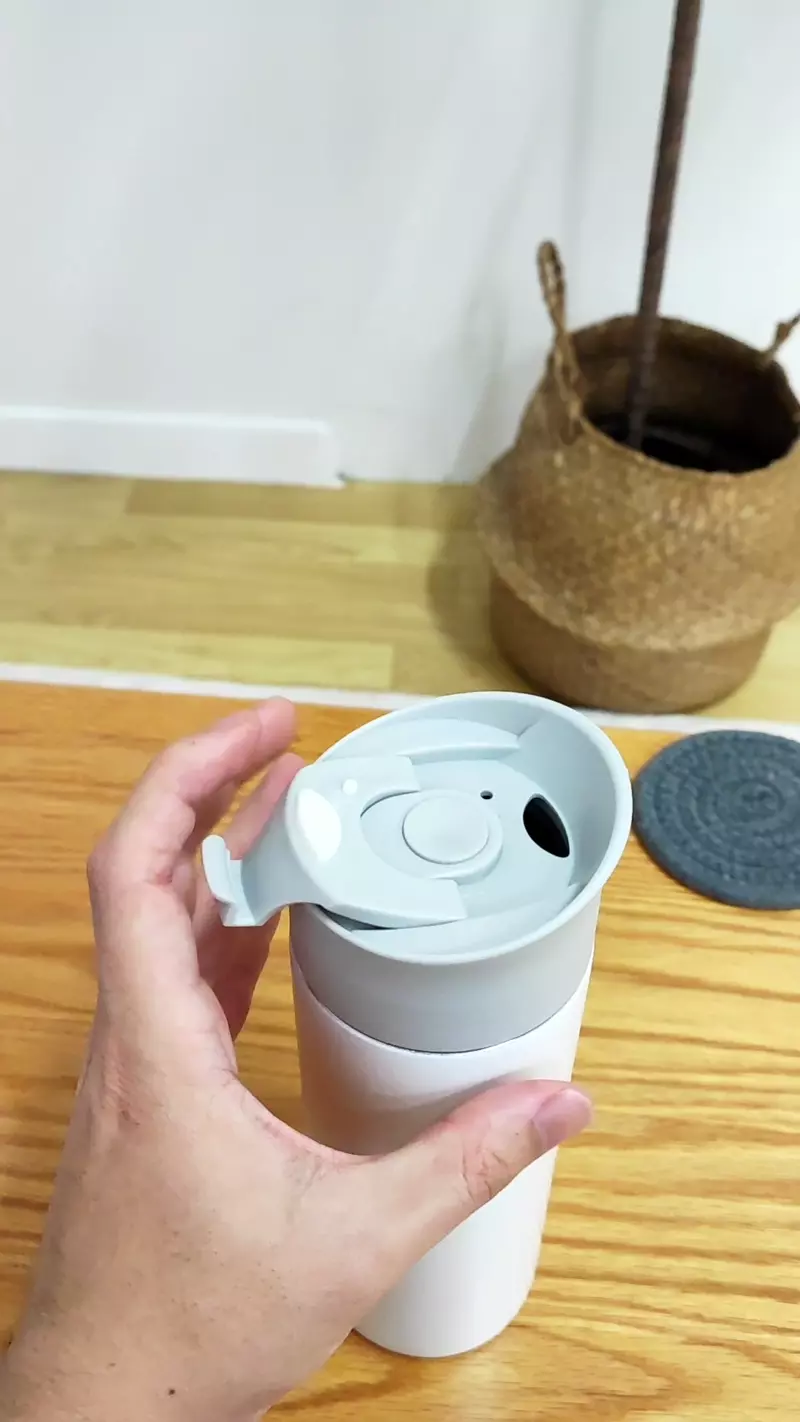
Depending on your preference, you can leave the last 5 - 10 mL of coffee in the French press as this is where you will find the most coffee silt, which some people may or may not enjoy.
We understand that due to the sipping lid's design, some coffee may drip off the edge of the lid after pouring.
The easy solution is to just gently rub the edge of the sipping portion against the rim of the cup to make sure any leftover coffee droplets fall into the cup! And for any leftover droplets on the sipping lid, just give it a sip!
Due to the portability of the Yasumi Press, you may want to bring your Yasumi Press anywhere with you. However, as there is a plunger gap on the lid that helps the plunger to move, coffee will definitely leak out if water comes in contact with the hole. We only suggest pouring your brewed coffee out into another thermal flask for the outdoors or brewing and consuming the coffee immediately at your location.
Like all coffee makers, you should wash the Yasumi Press only when you have access to a sink and a bin.
The Yasumi Press is spill-proof and rarely leaks if you keep it upright so it can hold the wet coffee grounds safely until it is convenient for a wash.
We recommend lightly washing the french press after each use.
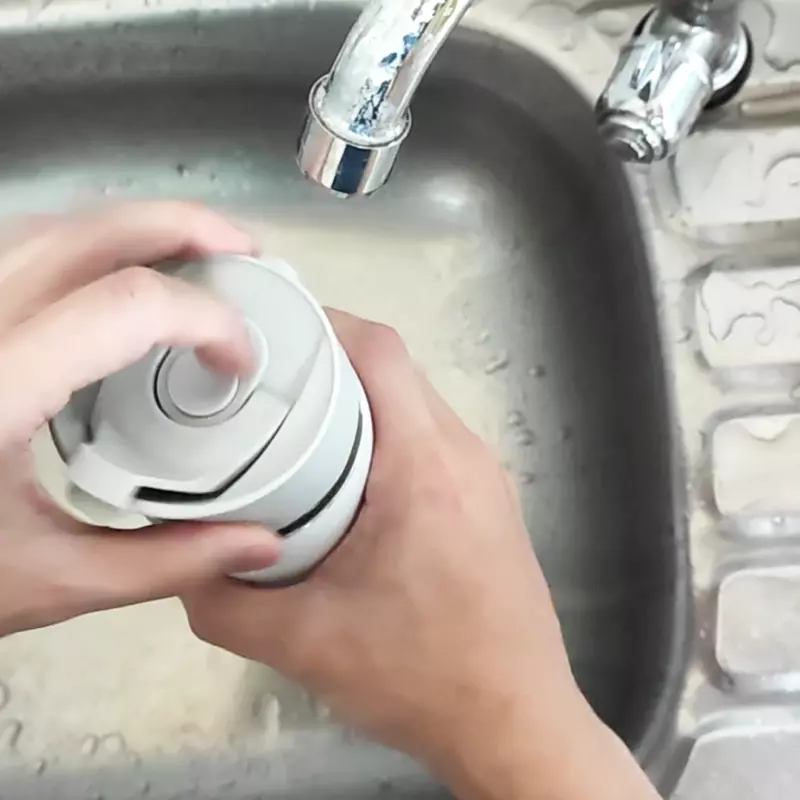
Washing the Yasumi Press is easy with the sieve provided.
Run tap water and wash down any coffee ground from the filter into the french press.
Then give the french press a swirl to dislodge the coffee grounds at the bottom and pour the water with coffee grounds into the basin with the sieve directly over the french press opening.
Depending on how much coffee powder you use, you may have to throw away the coffee ground from the sieve once or twice to complete the process.
You can also unscrew the metal filter ( 3 parts, with the mesh in the middle) and wash the individual components with soapy water once a week to remove coffee oil buildup.
Don't forget to throw your large coffee grounds in the bin ( Not the sink! ) or better yet, use them as a plant fertilizer.
In the cafe, milk drinks are usually made with espresso coffee from the espresso machine.
Espresso is a concentrated version of coffee which helps make for a richer texture in your milk drinks as it is less diluted.
In order to create the same rich texture using the Yasumi Press, we recommend making cold brew concentrate to make your milk-based coffee drinks.
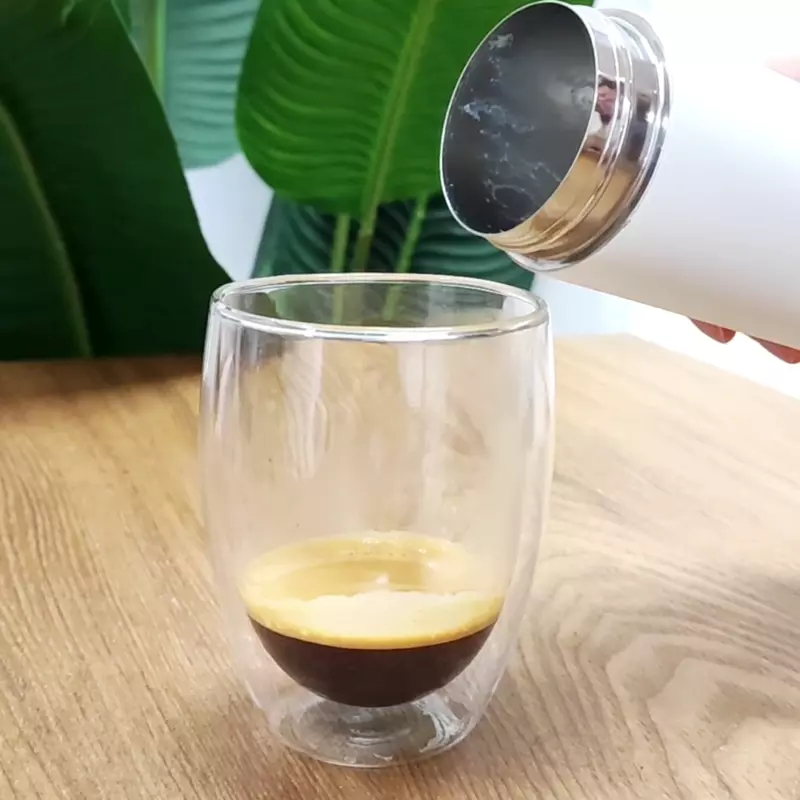
Making cold brew concentrate is really practical as you can make a large batch of this ahead of the week and pour just a little bit of it in your daily oat milk lattes.
For cold brew concentrate, the ratio that we like is 1:4 for the coffee powder to water.
To fill up the Yasumi Press to the brim with cold brew concentrate, you will need at least 10-12 heaping tablespoons of coarsely ground coffee powder.
Contrary to popular belief, you can brew cold brew coffee with room temperature water.
Add water until it is 2cm from the opening of the bottle.
Cover the Yasumi Press with the lid tightly and let the plunger sit on top of the water.
Leave the coffee at room temperature for at least 12 hours and then press it gently to push the coffee grounds to the bottom when it is done steeping.
You can now pour it into another container and store it in the fridge for up to 7-10 days, you can additionally use a sieve while doing so to capture any sediments.
We recommend using the cold brew concentrate at a ratio of 1:2, cold brew concentrate to milk.
For one cup of latte ( 230mL ), we recommend around 75ml of concentrate to 155ml of milk for a latte with a good texture.
Similarly, if you would like cold brew coffee instead, add 1 part coffee to 1 part water ( Depending on how concentrated you love it ) and serve it with ice!
If you don't want to wait 24 hours to get your cup of latte, a quick and easy fix it to simply use a higher ratio of coffee to hot water ( Boiling water rested for just a minute ) along with a longer steeping time.
Try using 1/4 the amount of water ( around 120ml ) in the press to 2.5 to 3 heaping tablespoons of coffee and letting it brew for at least 5 minutes.
The only risk of this method is that you may extract more bitter flavors due to the hotter water but milk is a good "bitter-blocker" which helps to make it a delicious drink!
It is optional but you can also heat your milk in a microwave-safe cup until it is 55-65 degree celsius so that your latte is not lukewarm.
Note: The Yasumi Press is not microwave safe as it contains metal.
If you do not have a thermometer, microwave the milk in intervals of 10 seconds and feel the cup.
Once the cup feels too hot to touch, your milk is at a great temperature for a hot latte.
You can also try frothing the milk first to create microfoams to give it a creamier texture!
For Ice lattes, there is no need to heat or froth the milk as the heated milk will melt the ice.
Simply just add ice to cool your coffee and pour your cold milk/plant-based milk directly into the coffee to make a nice ice latte!
You can make Milk Foam for your hot milk drinks fairly quickly with the Yasumi Press but it does take some practice to get the smooth silky foam that you find in cafes!
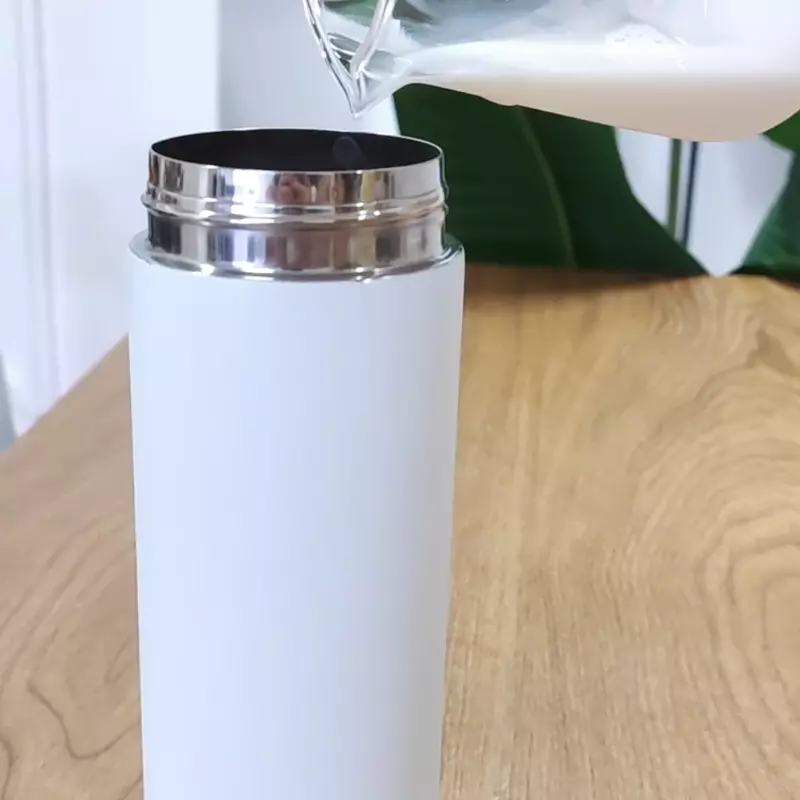
Simply pour the desired amount of milk, or plant-based milk ( Usually less than half the Press ), and start pulling the plunger up and down while the filter is in contact with the milk.
If you are making two cups of latte, we suggest plunging both cups of milk separately to ensure the ratio of milk to foam is consistent when pouring.
Stop plunging once you fill that there is significant resistance on the surface of the milk and check if the foam is at the level you desire. ( Usually after 40-50 seconds of quick plunging ).
We are doing 3 to 4 big plunges from the top to the bottom to introduce air into the milk followed by 20-30 small and swift plunges in the milk to incorporate the air and create microfoam.
It will take a few tries for you to find the sweet spot in terms of resistance for the level of foam you prefer!
You want really thick foam for a cappuccino-style drink and fairly light foam for a flat white-style drink.
Always swirl the foam until a shiny texture is formed on the surface to combine the textured milk you have created with the milk at the bottom.
It should look smooth and silky like white latex paint when it is ready for use!
If you have a milk pitcher, transfer your foam to it so you can start pouring beautiful latte art 😉
Note - It takes slightly longer to froth any plant-based milk because it has a lower fat content.
Some users have requested a clearer look at how the foaming process works!
However, as the Yasumi Press is opaque we are unable to show the foaming process happening inside.
The good thing is that the foaming works similarly to any other french press in the market and we absolutely love this demonstration video of World Champion Latte Artist - Lance Hedrick on how to make perfect latte art with the french press.
Please note that the Yasumi Press is NOT microwave safe as it contains metal so please heat up your milk in a microwave-safe device!
You have learned how to control every nuance of the brewing process to make sure you are not "over-extracting" or "under-extracting" the coffee. These are the same principles that baristas use in a cafe!
By extracting the coffee properly, you are able to clearly experience the original flavors from the region your coffee is grown in.
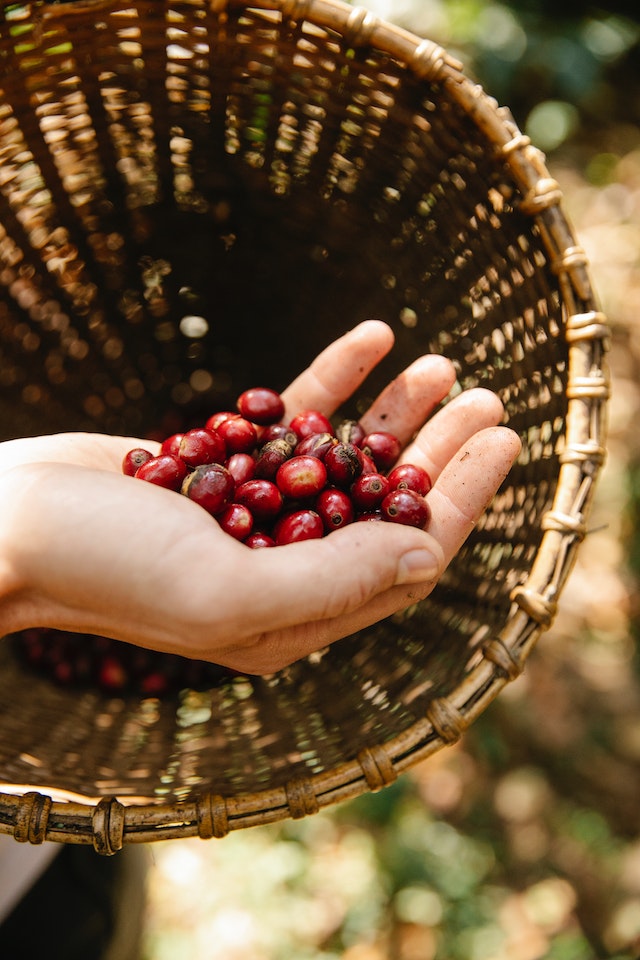
Our coffees are always varying slightly in terms of flavor because the climate and conditions in which the coffees are grown are always changing.
This also means that becoming a great french press barista is no easy feat - you will need to continue to experiment and also tweak your recipes with each bag of coffee to adjust to the seasonal changes in the coffee farm.
We believe that this challenge is what makes the end result of the coffee you brew very rewarding 🙂
The next step we recommend is to read our coffee appreciation guide here to learn more about your coffee!
We love to hear how everyone is enjoying and creating new recipes to enjoy our roasted coffee.
Let other coffee lovers know how you are using the Yasumi Press!
You can find your referral link in your account (Link) and if anybody purchases coffee via your referral link, you will get a discount coupon automatically applied to your subscription.
Happy brewing!
Q: After a brew, can I reuse the coffee grounds for another cup?
A: Most of the tasty flavors should be completely extracted during your first brew. Your second brew will only extract undesirable flavors such as bitterness so we do not recommend it.
Q: Can I bring the Yasumi Press out?
Yes! You can bring it out with you to brew great coffee!
However, we always recommend storing it in a cup holder or upright position when traveling after brewing your coffee.
We do not recommend brewing two cups when traveling as the coffee may splash out the plunger opening during bumpy rides.
Q: What is filter roast and espresso roast? Why does it matter?
For arabica coffees, there are typically two types of roast profiles in the market.
Filter roast and Espresso roast.
Filter roasts are coffee that is specifically roasted for filter coffee.
Espresso roast as the name suggests is roasted to be brewed with an Espresso machine.
Both roast profiles can vary a lot in terms of the roasting time which results in very different coffees even if they are using the same bean.
At Yasumi, we roast specifically for the french press ( between filter and espresso ), this means all of our coffees are tested using the Yasumi Press and then adjusted to make sure it brews perfectly with it.
However, even if you are using espresso or filter roasts on the Yasumi Press, you can always vary the steeping time and ratios using your new home barista knowledge for better results!
Q: Why is my coffee not as dark as the ones in cafes?
The Yasumi Press is perfectly capable of brewing very rich coffee as it uses a metal filter.
This allows the lipids of the coffee to pass through easily to create a thicker mouthfeel.
If your coffee is not as dark as what you are used to, it could just be that the beans are lightly roasted instead of dark roasted ones.
Generally, the color of the coffee is similar to the color of the beans you are using!
You can also use super dark roasted coffee like the robusta beans to brew traditional Nanyang Coffee with the Yasumi Press! 😉